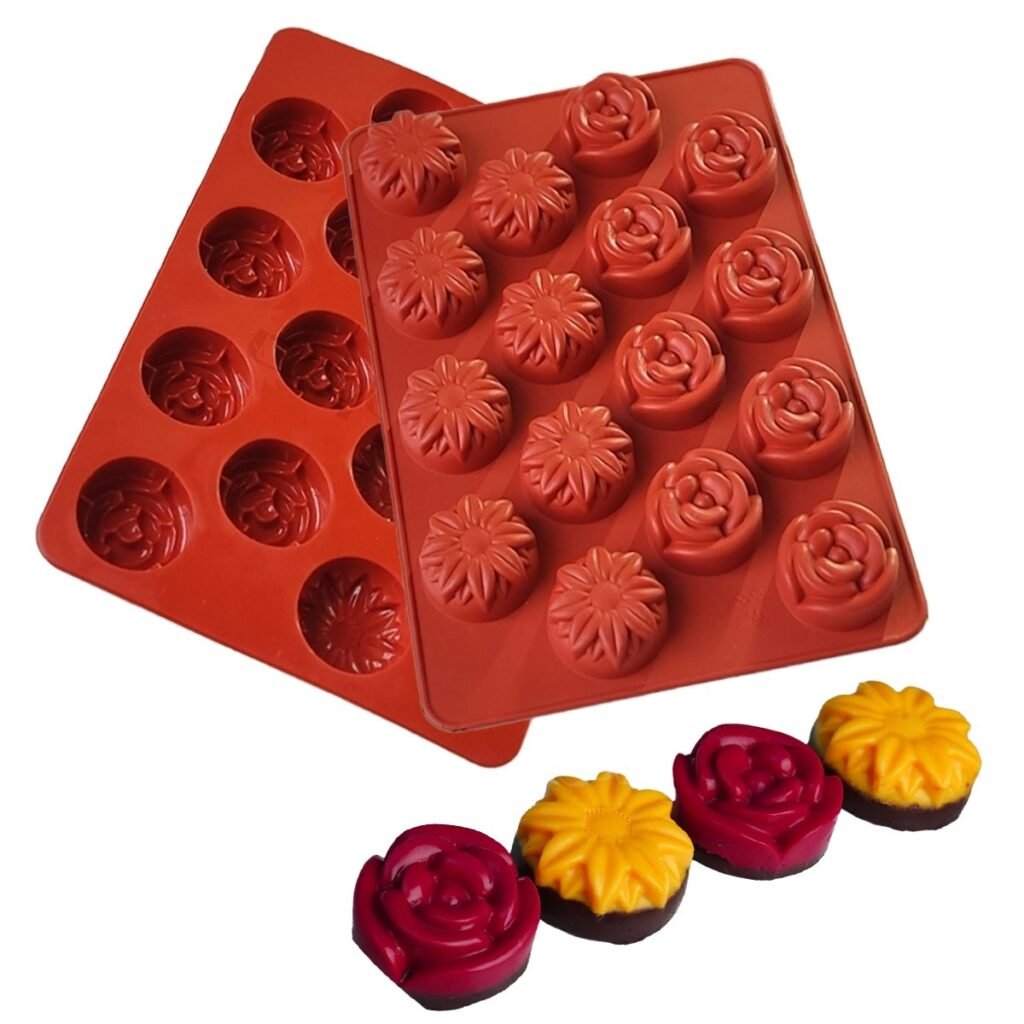
Polycarbonate vs Silicone Chocolate Molds: Which One Should You Choose?
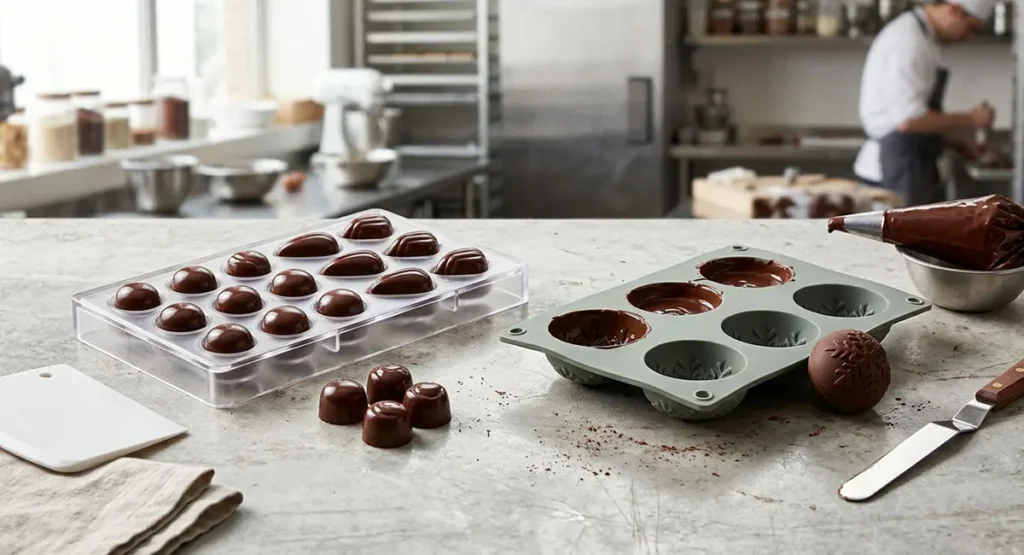
Creating beautiful, professional-looking chocolates requires more than just high-quality ingredients; it requires the right equipment. The secret to a perfect chocolate bonbon or bar often comes down to the mold you choose to pour it into.
If you are stepping into the world of chocolate making, you will quickly face the classic debate: polycarbonate vs silicone chocolate molds. The truth is, there is no single “best” option. A successful chocolate piece is a combination of the maker’s skill, accurate temperature control (tempering), and the mold’s material. Both polycarbonate and silicone have their place in a baker’s toolkit, and the right choice depends on your project’s goals, your experience level, and the specific finish you want to achieve.
In this guide, we break down the technical differences between these two popular materials so you can choose the right mold for your next chocolate creation.
The TL;DR: Polycarbonate vs Silicone Quick Comparison
Short on time? Use this quick comparison guide to understand the core differences between polycarbonate and silicone molds before you start melting your chocolate.
| Feature | Polycarbonate Molds | Silicone Molds |
|---|---|---|
| Gloss and Finish | High potential for a glossy, shiny finish (when chocolate is correctly tempered). | Usually transfers less shine, resulting in a matte or semi-gloss finish. |
| Ease of Unmolding | Requires proper tempering and controlled cooling for the chocolate to contract and release cleanly. | Highly forgiving. The flexible material allows you to easily pop the chocolate out. |
| Tempering Requirement | Strict. If the chocolate is not tempered correctly, it will stick to the rigid mold. | Forgiving. Works well even with untempered compound chocolate or candy melts. |
| Durability | Highly durable and shatter-resistant; can last for years with proper care and cleaning. | Durable and heat-resistant when used within the manufacturer’s temperature limits; however, it can be cut or torn by sharp tools. |
| Flexibility & Shapes | Completely rigid. Best for classic, geometric, or shallow shapes. | Highly flexible. Excellent for intricate, deep, or complex 3D shapes. |
| Best Suited For | Professional bonbons, shiny truffles, and classic chocolate bars. | Hot chocolate bombs, 3D figures, baking (if oven-safe), and beginners. |
Polycarbonate Molds: A Professional Favourite
Polycarbonate is a rigid, heavy-duty plastic and a traditional choice for professional chocolatiers. The primary reason professionals often choose polycarbonate is its smooth, rigid surface, which can help produce a highly polished chocolate finish when the chocolate is tempered and handled correctly.
The Advantages
High Gloss Potential: The interior cavities of high-quality polycarbonate molds are exceptionally smooth. When paired with correctly tempered chocolate and controlled cooling, this material allows you to achieve a beautiful, glossy finish that makes bonbons and bars stand out.
A Crisp Snap When Properly Tempered: When chocolate is properly tempered, its cocoa butter crystals form a stable structure. As the chocolate cools, a slight contraction helps it release cleanly from the rigid mold. This stable structure also contributes to the crisp ‘snap’ associated with high-quality chocolate.
Durability: Polycarbonate molds are highly durable when handled correctly. With proper cleaning and storage, they can be used regularly for many years without warping or degrading.
The Challenges
Strict Tempering Requirements: If the chocolate is not tempered correctly, it may not contract evenly during cooling. This significantly increases the risk of the chocolate sticking to the rigid mold walls, making it difficult to remove without damaging the piece.
Limited Flexibility: Because polycarbonate is rigid, it is less suitable for deep shapes with severe undercuts. It works particularly well for classic bonbons, chocolate bars, and other designs with clean edges and accessible cavities.
Silicone Molds: Versatile and Forgiving
Silicone molds are incredibly popular in home baking and chocolate making because they are flexible, easy to handle, and suitable for a wide variety of detailed shapes. They offer a much more forgiving learning curve for those new to chocolate work.
The Advantages
Ease of Unmolding: The most significant benefit of silicone is its flexibility. You can gently flex the mold away from the chocolate, making the release process much easier. This is especially helpful when using compound chocolate or candy melts, which do not require traditional tempering.
Intricate 3D Shapes: Because silicone can flex around deeper details, it is well suited for 3D figures, detailed spheres (such as hot chocolate bombs), and decorative toppers that might be difficult to extract from a rigid mold.
Multi-Purpose Use: Many food-grade silicone molds tolerate a wide temperature range, though permitted limits vary by product. If the manufacturer specifically approves the mold for oven or freezer use, it can double as a tool for baking miniature cakes or setting frozen desserts.
The Challenges
Matte Finish: Compared with a smooth polycarbonate mold, silicone usually produces less surface shine. Depending on the quality and finish of the silicone, the chocolate may appear matte or semi-gloss rather than highly polished.
Dust and Lint Attraction: Silicone molds should be washed thoroughly to remove grease and stored in an enclosed bag or clean container to reduce exposure to dust and lint.
Stability During Use: Because the material is soft, it can be difficult to move once filled with liquid chocolate.
Pro Tip: Always place a flexible silicone mold on a flat tray before filling it. This provides support and makes it easier to move the mold to the fridge without spilling.
(Note on Couverture Chocolate: Although silicone makes unmolding easier, remember that if you are using real couverture chocolate, proper tempering is still essential to achieve a firm texture and a good structural finish.)
Head-to-Head: Choosing Based on Your Project
The most practical way to choose between polycarbonate and silicone is to look at the specific treats you are planning to make. Here is a quick guide based on popular chocolate projects:
Professional Bonbons, Pralines, and Chocolate Bars If your goal is to create artisan chocolate bonbons, hand-painted cocoa butter designs, or classic chocolate bars, polycarbonate is usually the better choice. The rigidity and ultra-smooth surface of these molds are helpful for achieving that high-end, highly polished finish.
Hot Chocolate Bombs and Intricate 3D Figures For large hollow spheres (like hot chocolate bombs) or deep, intricate 3D shapes (like geometric hearts, flowers, or teddy bears), silicone is often the more practical choice. Attempting to extract a deep, highly textured shape with undercuts from a rigid mold can be incredibly frustrating. Silicone’s flexibility makes unmolding these complex shapes much easier. It is also a practical choice for home bakers doing fun weekend projects with kids using candy melts.
Helpful Complementary Tools for Chocolate Making
Whichever mold material you choose, having a few extra tools on hand can make the chocolate making process much cleaner, faster, and more enjoyable. While not absolutely mandatory, these tools are highly recommended for achieving neat edges and reducing chocolate waste:
Piping Bags: Pouring melted chocolate directly from a bowl into small mold cavities almost always leads to spills and a messy workspace. Using a good quality piping bag gives you precise control, allowing you to fill each cavity perfectly without overflowing.
Palette Knives: A palette knife or angled spatula is excellent for spreading chocolate evenly across the mold, especially when you are ‘capping’ (sealing the bottom of) filled truffles or bonbons.
Scrapers (With a Crucial Warning): To get clean, sharp edges on the base of your chocolates, you need to scrape the excess chocolate off the top of the mold before it sets. Rigid scrapers are incredibly helpful for this task.
Important Care Warning: Improper or heavy-handed use of a metal tool will permanently scratch the polycarbonate surface. Whenever possible, use a sturdy plastic scraper on polycarbonate molds. If a metal scraper is used, handle it with extreme care and avoid sharp edges or heavy pressure, as even minor scratches can affect future results.
Cleaning and Proper Care for Chocolate Molds
Your chocolate molds are an investment. Whether you choose polycarbonate or silicone, proper cleaning and storage are the secrets to extending their lifespan and ensuring your chocolates always look their best.
Caring for Polycarbonate Molds To maintain that high-gloss finish, you must treat the surface of your polycarbonate molds gently.
Washing: Wash the molds in lukewarm water with a mild, non-abrasive detergent, using a very soft cloth or cotton pad. Rinse thoroughly and dry with a lint-free cloth.
What to Avoid: Never use abrasive sponges, scouring powders, or sharp tools. Scratches can reduce the clarity and smoothness of the mold surface, which may affect the finish of future chocolates.
Storage: Ensure the molds are completely dry and store them flat. Keep them away from direct contact with hard or sharp utensils that could scratch them in your drawers or cupboards.
Caring for Silicone Molds Silicone requires a different approach, primarily focused on removing oils and preventing dust.
Grease-Free Washing: Wash your molds thoroughly in lukewarm, soapy water to remove residual cocoa butter and chocolate oils. If grease is left behind, it acts as a magnet for dust and lint.
Storage: Once completely dry, do not leave silicone molds out on an open shelf. Store them inside a clean, enclosed bag or a sealed container to keep them pristine and dust-free for your next project.
Final Verdict: Which mold is right for your kitchen?
Ultimately, there is no single “perfect” chocolate mold—only the right mold for your specific project.
If you are a professional chocolatier, or an ambitious home baker aiming for classic bonbons with a highly polished finish and a crisp snap, polycarbonate molds are your ultimate tool. However, if you are working on fun, detailed 3D shapes or large hollow spheres such as hot chocolate bombs, silicone molds can offer a more forgiving unmolding process. For couverture chocolate, proper tempering is still important for achieving the desired texture and finish.
Many decorators find that as their skills grow, having a mix of both materials in their toolkit offers the greatest creative freedom.
Ready to start your next chocolate project? Explore our curated collection of high-quality chocolate molds, piping bags, and decorating tools at Makia Pastry Tools, and equip your kitchen with everything you need to create beautiful, delicious results.
Frequently Asked Questions (FAQ)
1. Do I need to grease silicone or polycarbonate chocolate molds before use?
No. Chocolate molds generally do not need to be greased. Clean and completely dry molds allow properly tempered chocolate to contract and release naturally. Cooking spray, butter, or oil may leave a greasy or cloudy residue on the chocolate and mold surface.
2. Why will not my chocolate release from a polycarbonate mold?
Chocolate may stick to a polycarbonate mold because it was not tempered correctly or has not cooled completely. Proper tempering helps the chocolate contract as it sets, making release easier. Allow the chocolate to crystallize fully in a cool, dry environment before unmolding.
3. How do you polish a polycarbonate mold for a better shine?
Clean and dry the mold, then gently buff each cavity with a soft, lint-free cloth before filling it. This can remove light dust, water spots, and residual cocoa butter. A clean, smooth mold surface can help transfer a more polished finish to the chocolate.
4. Can I put chocolate molds in the freezer to set chocolate faster?
Short freezer use may be suitable for some silicone molds, but it is generally better to set chocolate in a cool, dry environment. Rapid temperature changes can cause cracking, condensation, or bloom, especially when a cold mold is exposed to warmer air. Follow the mold and chocolate manufacturer’s temperature recommendations.
RECENT POSTS
Why Does Cake Stick to a Silicone Mold? 7 Common Causes & Fixes
Polycarbonate vs Silicone Chocolate Molds: Which One Should You Choose?
Decorating Tools That Actually Make Decorating Easier
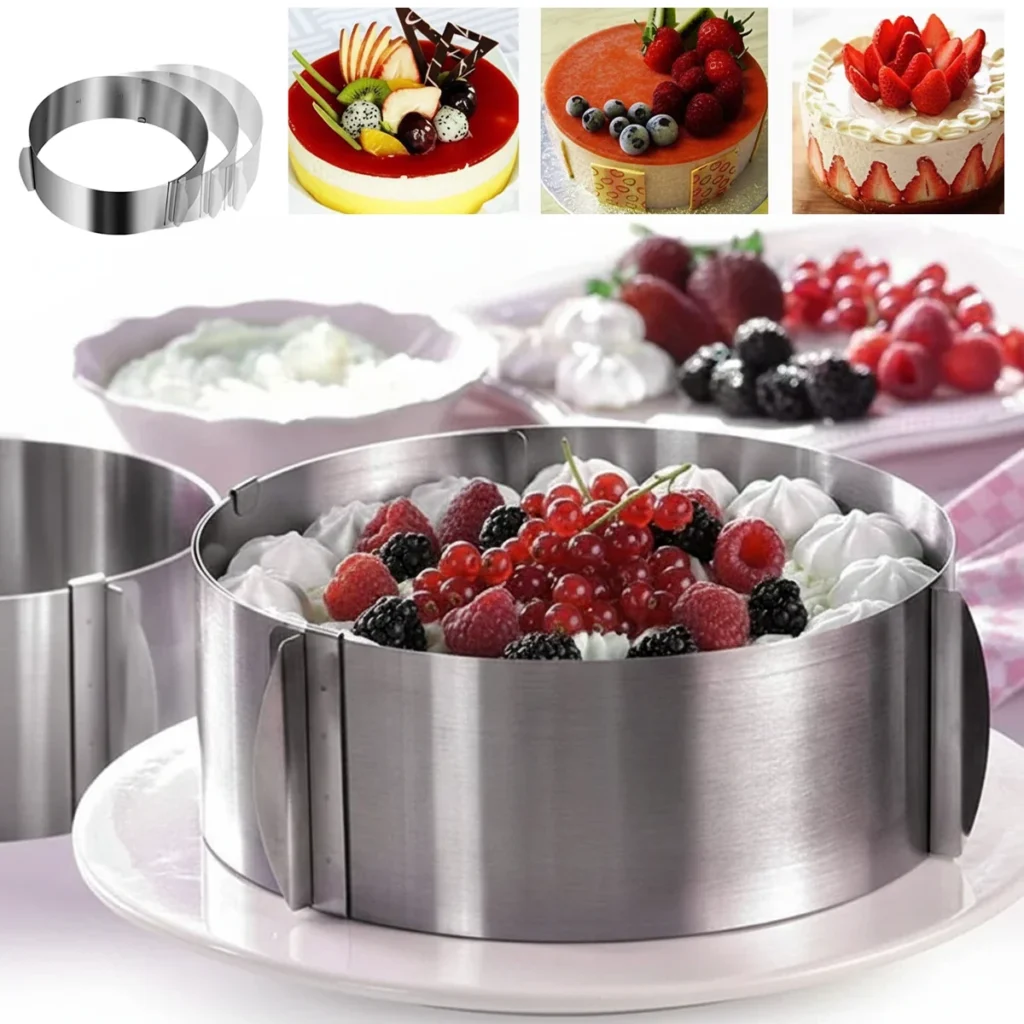
Cake Rings and Cutters: The Quiet Tools Behind Clean, Modern Desserts