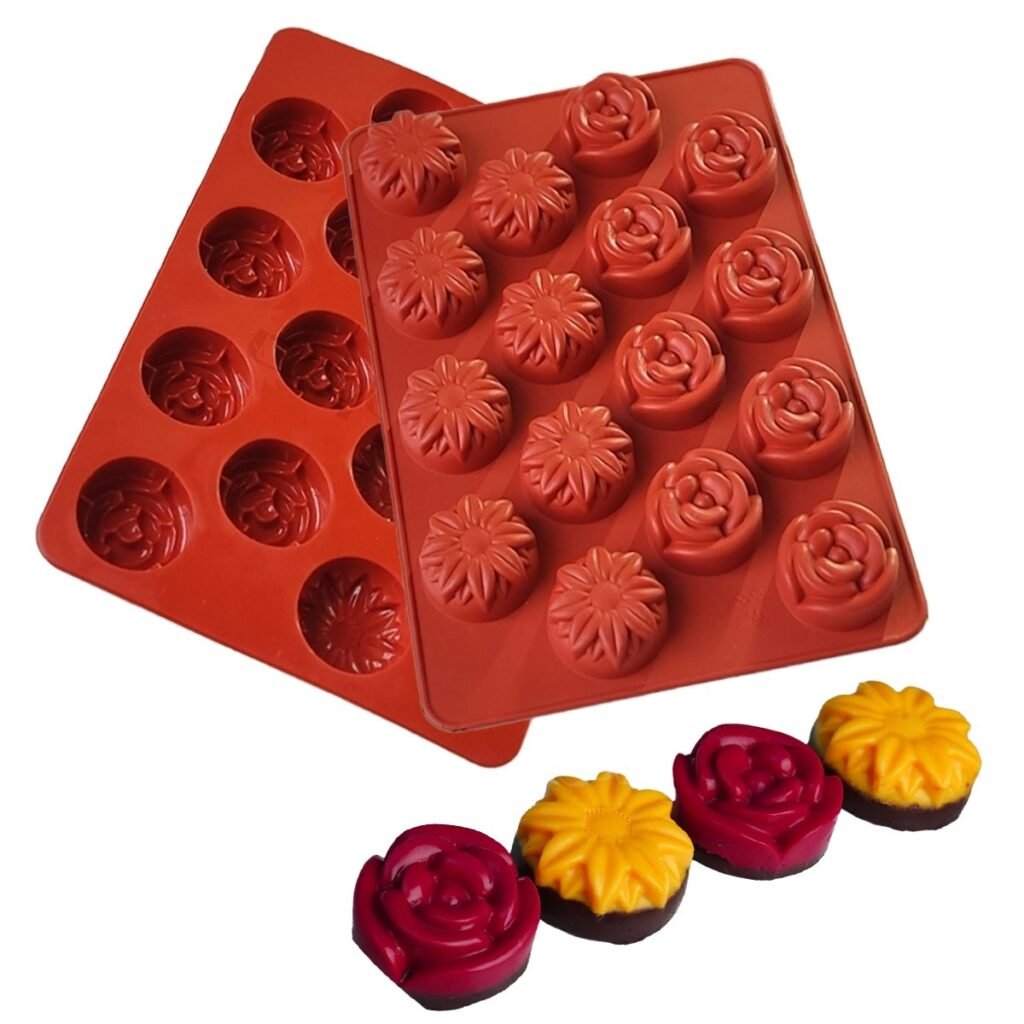
Why Does Cake Stick to a Silicone Mold? 7 Common Causes & Fixes
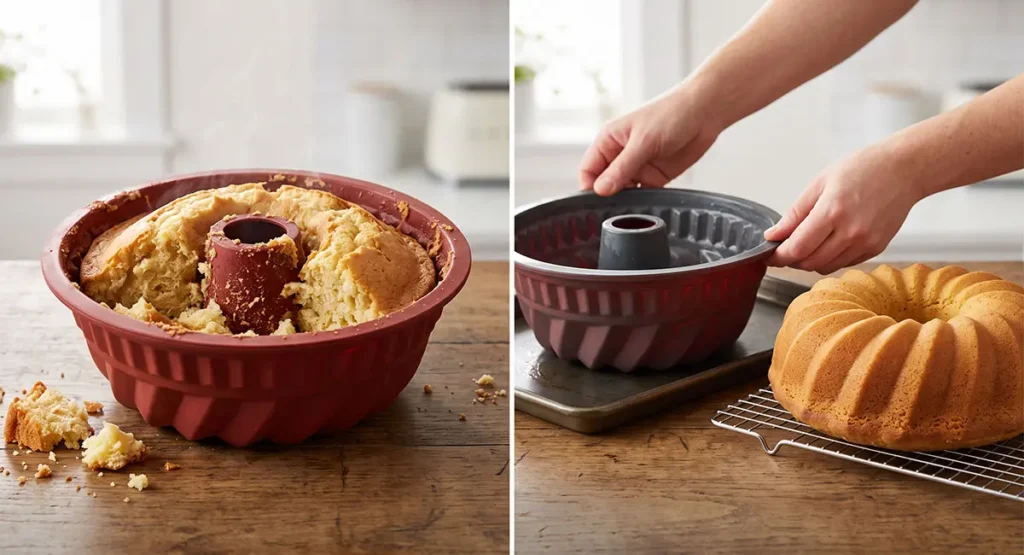
Cake can stick to a silicone mold when it is unmolded at the wrong temperature, underbaked, made with a fragile batter, poorly released, or affected by residue on the mold. The right solution depends on the cause, but proper baking, careful cooling, thorough cleaning, and appropriate preparation usually make release easier.
Nothing is more frustrating than carefully preparing a cake batter, waiting patiently for it to bake, and then having the beautiful design tear apart when you try to remove it from a silicone mold. While silicone is widely celebrated for its flexibility and ease of use, it is not entirely foolproof. Understanding how your batter, the temperature, and the mold’s surface interact is the key to achieving perfect, clean edges every time.
Here are the seven most common reasons your cake might be sticking, along with the technical fixes you need for a flawless release.
1. Unmolding the Cake at the Wrong Temperature
Timing is everything when it comes to removing baked goods from silicone.
If you try to flex and peel the mold away while the cake is still piping hot straight from the oven, the crumb structure has not yet set. Hot cake is extremely fragile and prone to tearing, especially around the intricate details of a 3D mold. On the other hand, allowing the cake to cool completely to room temperature while still inside the mold can also cause problems. As the cake cools, trapped steam turns into condensation, making the surface sticky and causing it to cling stubbornly to the silicone walls.
The Fix: For most standard cakes, the sweet spot is resting the mold for about 10 to 15 minutes after baking. This allows the crumb to firm up just enough to hold its shape. Once rested, gently pull the edges of the silicone away to break the air seal, place a cooling rack over the top, and invert the mold and rack together.
2. Choosing a Batter That Is Too Fragile for a Detailed Mold
Not all cake recipes are meant for highly detailed, deep silicone molds.
Very light, highly aerated, and delicate batters—such as certain sponges, angel food cakes, or chiffons—rely on clinging to the sides of a pan to rise and maintain their structure. When baked in a flexible, intricately shaped silicone mold, these fragile crumbs often lack the internal strength required to release cleanly from deep grooves and undercuts.
The Fix: If you are using a silicone mold with a complex design (like a geometric heart, a detailed flower, or a sharp-edged bundt style), opt for a denser, sturdier batter. Pound cakes, butter cakes, and mud cakes have a tighter crumb structure that holds sharp details beautifully and is much less likely to break apart during the unmolding process.
3. Using Too Much or Too Little Release
There is a common misconception that silicone molds never need to be greased. While high-quality silicone has excellent natural non-stick properties, highly intricate designs or batters with a lower fat content may still need a little help to release perfectly.
However, the way you prepare the mold matters. If you do not use any release agent on a complex shape, the cake might grip the fine details. Conversely, if you generously spray the mold and heavily dust it with flour, the excess mixture will pool into the deepest crevices of the silicone. This not only obscures the sharp, beautiful details of your mold but can also bake into a gummy, unappetizing white crust on the surface of your cake.
The Fix: Always check the manufacturer’s guidelines for your specific mold first. If greasing is recommended, apply a very light, even coating. You can use a high-quality baking spray or apply a thin layer of melted butter. For highly detailed molds, use a fine pastry brush to work a minimal amount of grease into every groove and corner, ensuring there are no pools of liquid or thick clumps of flour left behind.
4. Overfilling the Mold or Moving It Without Support
Because silicone is soft and flexible, it requires a different handling technique compared to rigid metal pans.
If you overfill the mold, the batter will rise during baking, expanding over the top edge and forming a raised lip or “mushroom” top. When you attempt to invert the mold later, this baked overhang acts like a lock, gripping the outside of the silicone and preventing the cake from sliding out smoothly. Additionally, if you try to carry a filled silicone mold to the oven without support, the mold will bend. This can cause the batter to spill or bake unevenly, resulting in a lopsided cake that does not sit flat.
The Fix: Always place your empty silicone mold on a flat, rigid baking tray before you pour the batter. This provides stability for moving the mold in and out of the oven. When filling, follow the manufacturer’s guidance. As a general rule, leave enough room for the specific batter to rise without overflowing the top edge. If your cake does accidentally dome over the top during baking, wait for it to rest, then use a long serrated knife to level the top of the cake flush with the mold before you attempt to invert and unmold it.
5. Underbaking or Overbaking the Cake
Baking time significantly impacts how easily a cake will release from any pan, but silicone molds can be particularly unforgiving if the timing is off.
If a cake is underbaked, the center and sides have not developed enough structural integrity. When you attempt to unmold it, the soft, gooey crumb will simply collapse and stick to the bottom and walls. On the other hand, overbaking dries out the cake, making the crumb brittle and prone to breaking or leaving dry crusts behind in the mold’s details.
The Fix: Accurate baking is crucial. While the classic toothpick test is helpful, it is not always enough for dense cakes baked in deep molds. Look for additional visual and tactile cues: the cake should spring back slightly when gently pressed in the center, and the edges should just begin to pull away from the sides of the silicone mold. For highly dense cakes, using an instant-read thermometer can help ensure the center is perfectly baked without drying out the edges.
6. Residue, Moisture, or a Worn Silicone Surface
Sometimes the issue is not the cake batter or the temperature, but the surface of the mold itself.
If a silicone mold is not cleaned thoroughly, microscopic layers of baking spray, butter, or even dish detergent can build up over time. This leaves a tacky, sticky residue on the surface that acts like glue for your next cake. Additionally, if the mold is stored while slightly damp, moisture trapped in the deep grooves can interfere with the baking process.
The Fix: Wash your molds thoroughly in lukewarm, soapy water after every use, paying special attention to the deep crevices. Rinse them completely to ensure no soap residue remains. Dry the molds entirely (using a clean towel or letting them air dry in a warm spot) before storing them. If a mold remains consistently sticky, develops a cracked texture, or holds onto abnormal odors even after a proper wash, the silicone may have worn out over time and should be replaced.
7. Silicone Quality and Mold Design
Not all silicone is created equal. The quality of the material and the engineering of the mold play a massive role in your baking success.
Lower-quality molds may lack dimensional stability, meaning they warp easily in the oven heat or lose their shape when filled with batter. Furthermore, if a mold is designed with severe, sharp undercuts without enough flexibility in the silicone structure, unmolding a delicate cake intact becomes nearly impossible, regardless of your technique.
The Fix: Invest in high-quality, food-grade silicone molds that specify their temperature limits clearly. A good quality mold will feel sturdy yet flexible, hold its shape well when filled, and retain its non-stick properties over a long lifespan.
Essential Tools for Easier Baking and Unmolding
To set yourself up for success, pairing your high-quality silicone molds with the right accessories makes the entire process smoother:
Flat Baking Trays: Always place your silicone mold on a rigid metal baking tray before filling. This provides the support needed to move the batter to the oven safely and ensures the cake bakes evenly on a flat surface.
Cooling Racks: Inverting your mold onto a wire cooling rack allows air to circulate around the cake, preventing condensation from building up underneath and making the release much cleaner.
Pastry Brushes: Essential for applying a very fine, even layer of melted butter or oil into the intricate details of a complex mold without leaving heavy pools of liquid.
Conclusion
Baking with detailed silicone molds opens up a world of creative possibilities, from elegant geometric shapes to stunning floral designs. While sticking can be a frustrating hurdle, it is almost always solvable. By paying close attention to your batter choice, nailing the baking time, managing the cooling temperature, and keeping your molds pristine, you can achieve professional, flawless results every time.
Ready to upgrade your baking toolkit? Explore our collection of premium, food-grade silicone molds, cooling racks, and baking accessories at Makia Pastry Tools to find the perfect equipment for your next masterpiece.
Frequently Asked Questions
1. Can I use aerosol cooking spray on silicone cake molds?
No, you should avoid aerosol cooking sprays. Commercial sprays contain emulsifiers and propellants that bake onto the silicone at high temperatures, creating a permanent, sticky residue. Instead, use a pastry brush to apply a thin layer of melted butter or plain oil.
2. How do I fix a white, sticky film on my silicone mold?
Remove the sticky film using a simple baking soda paste. This white residue is built-up fat that causes cakes to stick. Rub a mixture of baking soda and warm water onto the sticky areas, let it sit for 15 minutes, and wash thoroughly with warm, soapy water to restore the surface.
3. Does freezing the cake inside the silicone mold help it release cleanly?
Yes, freezing is highly effective for intricate 3D molds. Once your baked cake cools to room temperature, freeze the entire mold for 1 to 2 hours. This firms up the crumb structure, allowing you to easily peel the flexible silicone away without tearing delicate details.
4. Does the dishwasher ruin a silicone mold’s non-stick surface?
While generally dishwasher safe, hand washing is highly recommended. Harsh dishwasher detergents can leave a powdery, soapy residue on the silicone that degrades the non-stick performance and causes cakes to stick. Always hand wash with mild dish soap to protect the mold.
RECENT POSTS
Why Does Cake Stick to a Silicone Mold? 7 Common Causes & Fixes
Polycarbonate vs Silicone Chocolate Molds: Which One Should You Choose?
Decorating Tools That Actually Make Decorating Easier
Cake Rings and Cutters: The Quiet Tools Behind Clean, Modern Desserts