
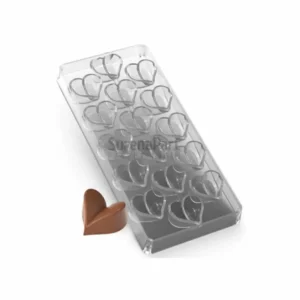
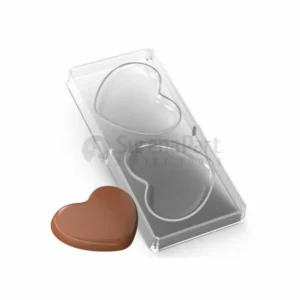
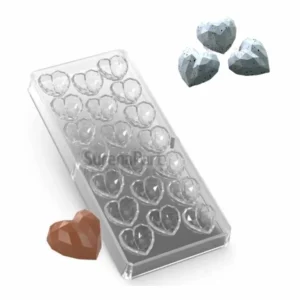
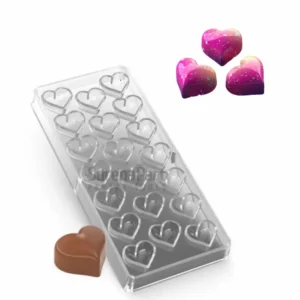
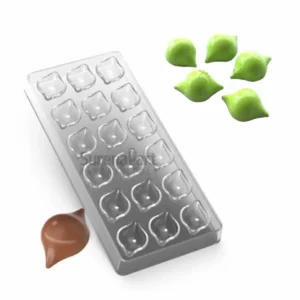
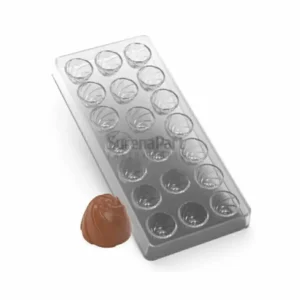
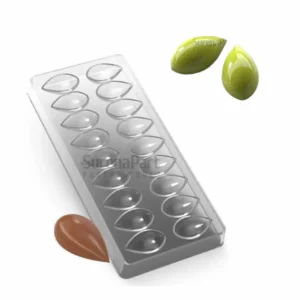
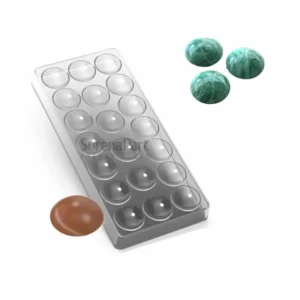
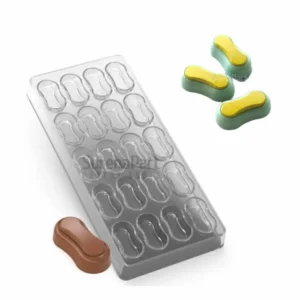
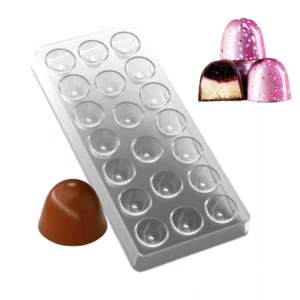
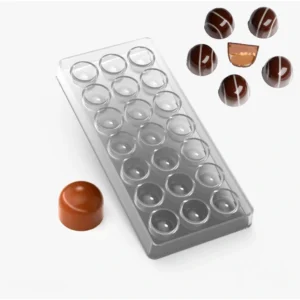
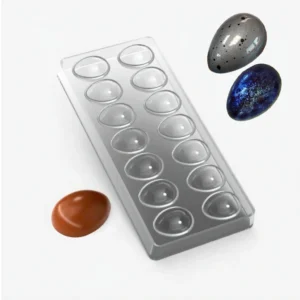


Polycarbonate Chocolate Moulds
Polycarbonate moulds are a popular choice for making chocolates with Their rigid construction supports consistent results when used with properly tempered chocolate and suitable cooling conditions. Explore moulds for bonbons, pralines, chocolate bars and other chocolate creations.
Explore Polycarbonate Moulds
Choose a mould style to suit the chocolates you want to make. The collection may include:
- Bonbon and praline moulds: For making shaped chocolate shells and filled chocolates.
- Chocolate bar moulds: For making solid bars and tablets in a range of shapes and designs.
- Other chocolate moulds: Browse the available designs to find a shape and cavity size that suits your project.
Why Choose Polycarbonate Over Silicone for Chocolate?
Both polycarbonate and silicone moulds can be used for chocolate making, but they offer different working characteristics. Silicone is flexible and can be useful for certain shapes and easy release. However, its flexibility may make it less suitable for techniques that require precise shaping, consistent shell thickness and a smooth, rigid surface.
Polycarbonate moulds are rigid and have smooth internal surfaces. When chocolate is properly tempered and begins to cool, it contracts slightly. This contraction can help the chocolate release from the mould, provided that the mould is clean and the chocolate has been handled under suitable conditions.
The smooth surface of a well-maintained polycarbonate mould can also support a glossy finish. However, the final shine and snap depend on several factors, including the tempering process, the type of chocolate, the cleanliness of the mould, the thickness of the chocolate shell and the cooling conditions. Polycarbonate supports these results, but it does not guarantee them on its own.
How to Choose the Right Polycarbonate Mould
The right mould depends on the type of chocolate you want to make, the intended portion size and your filling technique. When browsing the collection, consider the following factors:
Cavity size and finished weight: Check the product details for the cavity dimensions and estimated finished weight, where available. Smaller cavities can suit bite-sized bonbons, while larger cavities may be better for substantial chocolates or bars.
Cavity depth and filling space: For filled bonbons and pralines, consider whether the cavity provides enough room for a chocolate shell, filling and a final layer of chocolate to seal the piece. The suitable depth will depend on your recipe and shell thickness.
Shape and design: Select a shape that matches the style of chocolate you want to create. Geometric, classic, seasonal and decorative designs can produce different visual results and may require different filling or finishing techniques.
Mould format: Classic rigid trays are commonly used for shelling, filling and capping chocolates. In the wider chocolate-making market, you may also encounter magnetic mould systems, which can be used with interchangeable plates and, in some cases, chocolate transfer sheets. Their format and compatibility vary, so always check the manufacturer’s instructions before use.
The Role of the Mould in Shine and Snap
A glossy finish and a clean chocolate snap depend on several factors, including correct tempering, the type of chocolate, the cleanliness of the mould, the thickness of the chocolate shell and the cooling conditions.
The mould also plays an important role. A clean polycarbonate mould with a smooth internal surface can help create a more even and reflective finish. As properly tempered chocolate cools, it contracts slightly. The rigid structure of polycarbonate can support this process and may help the chocolate release from the cavities when the chocolate has been handled under suitable conditions.
Polycarbonate supports professional results, but it cannot guarantee shine or snap on its own. Careful tempering and consistent working conditions remain essential.
Polishing and Preparing Your Mould
Polycarbonate chocolate moulds generally do not require greasing or oiling. Adding an unapproved coating may affect the surface finish, interfere with chocolate release or leave unwanted marks on the finished chocolate. Always follow the care instructions supplied with the specific mould.
Before filling the mould, make sure the cavities are clean, dry and free from dust, fingerprints and leftover cocoa butter. Chocolatiers commonly polish the cavities with a soft, dry cotton wool pad or a clean, lint-free cloth. Use gentle pressure to remove residue without scratching the surface.
Check the mould after polishing. Cotton wool can occasionally leave small fibres behind, so remove any visible lint before adding the chocolate. Avoid harsh chemicals or cleaning products that are not approved for the mould.
Cleaning and Maintaining Polycarbonate Moulds
Gentle handling helps preserve the smooth internal surface of a polycarbonate mould. Scratches, residue and water spots may affect the appearance of the finished chocolates.
- Washing: Follow the manufacturer’s care instructions first. If hand washing is recommended, use warm water and a mild detergent. Avoid boiling water and sudden temperature changes.
- Tools to avoid: Do not use abrasive sponges, scouring pads or stiff brushes, as they may scratch the mould.
- Drying: Dry the mould completely with a clean, soft, lint-free cloth, then allow it to air dry if needed. Make sure no moisture remains inside the cavities before use.
- Dishwashers and heat: Do not place the mould in a dishwasher unless the manufacturer specifically confirms that it is suitable for dishwasher use. High temperatures and strong detergents may affect the shape or clarity of some polycarbonate moulds.
- Storage: Store clean and dry moulds where they are protected from dust, direct heat and contact with sharp objects.
Troubleshooting Common Unmoulding Issues
If chocolate does not release cleanly from a polycarbonate mould, several factors may be involved. Check the following before assuming that the mould is defective:
- Tempering: Chocolate that has not been tempered correctly may not contract sufficiently as it cools, making release more difficult.
- Cooling conditions: Uneven cooling, excessive humidity or an unsuitable cooling temperature may affect the setting process and the final appearance. Follow the working guidance for the chocolate you are using.
- Mould cleanliness: Dust, fingerprints, cocoa butter residue or water spots can affect both release and shine.
- Shell thickness: A shell that is too thin may crack during unmoulding, while uneven thickness may produce inconsistent results.
- Filling temperature: For filled chocolates, the filling should be cool enough not to soften or melt the chocolate shell. The suitable temperature depends on the recipe and filling.
Why Shop Polycarbonate Moulds at Makia?
At Makia Pastry Tools, we offer a selection of polycarbonate chocolate moulds for home chocolatiers, ambitious beginners and experienced makers. Browse the available shapes and designs to find a mould suited to bonbons, pralines, chocolate bars and other chocolate creations.
Please check each product page for current availability, dimensions, material details and care instructions before ordering.
Polycarbonate Moulds FAQs
Why is my chocolate sticking to the polycarbonate mould?
Possible causes include incorrect tempering, unsuitable cooling conditions, an unclean or damp mould, uneven shell thickness or a filling that was too warm. Check these factors before reusing the mould.
Do I need to grease a polycarbonate mould?
Polycarbonate chocolate moulds generally do not require greasing or oiling. An added coating may affect the appearance, release or surface of the chocolate. Always follow the care instructions for the specific mould.
Can I use a polycarbonate mould in the oven?
These moulds are designed for chocolate-making applications and are not intended for use in an oven or exposure to high heat, unless the manufacturer explicitly states otherwise.
How do I clean my moulds without scratching them?
Follow the manufacturer’s instructions. Where hand-washing is recommended, use warm water and a mild detergent, together with a soft, non-abrasive cleaning method. Avoid abrasive sponges, scouring pads and stiff brushes. Dry the mould thoroughly, then inspect and gently polish the cavities with a clean, lint-free cloth or suitable soft cotton before use.